Simplifying Redirects: Moving from Drupal to a Headless Site
.png/public)
When we were slowly moving from a Drupal site to a Headless site, we found some issues, the one I'm going to talk about today is redirecting users to the new headless pages instead of using the one provided by Drupal, in this particular case we are creating a Gatsby site hosted in Netlify and our CMS (Drupal) is hosted in Pantheon.
The usual flow in Drupal is, you create a new page and you get served a Drupal page when you visit the URL.
In order to get to the new Headless page using the same URL, we use CloudFlare's Origin Rules, but this requires support from dev's, or at least someone with Cloudflare knowledge so the content creators can get their pages published.
Additional to that, one of the problems using Origin Rules is the limited quantity of rules that we can use, we know that the site has a lot of pages and this limit won't be enough to move all the pages. We decided to use KV and Workers instead of Origin Rules, that way we don't depend on any limit and we can write as much KV's as we need.

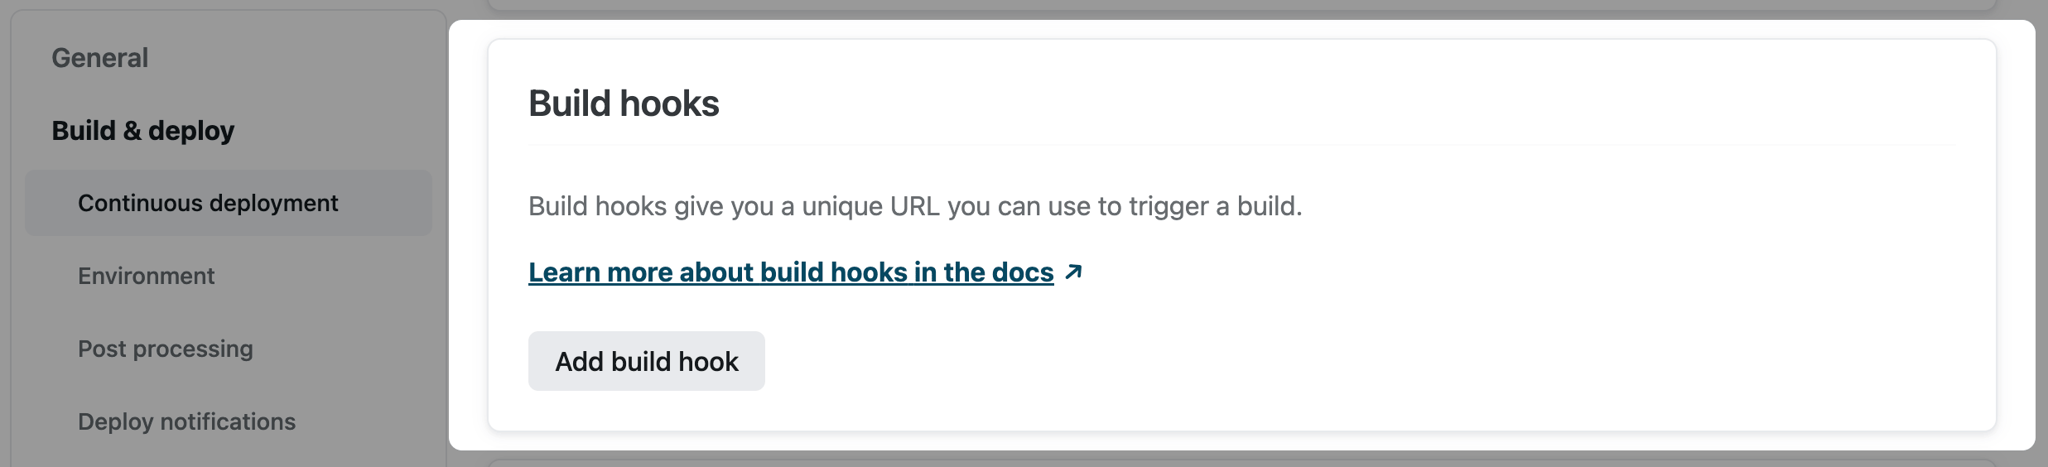
We decided to create a new custom module in Drupal, the original idea was to handle everything from this module: trigger a deploy to Netlify and add the KV's to Cloudflare, we can use Netlify's Webhooks to notify us when the deploy is ready.
Another consideration that we had was the time the build takes, because this means that if in that time you visit the page, you will get a response from Drupal instead of the new Headless site.
To solve that we are going to create a redirect to a 404 page for anonymous users that visit our headless pages.
Once Netlify notify us about the successful deploy, we can create the KV.
This way, the new Headless page will be available as soon as the Netlify's build finishes and the user can get access to it, this operation is transparent to the final user and doesn't require any extra step from the content editor.
Let's See How It Works
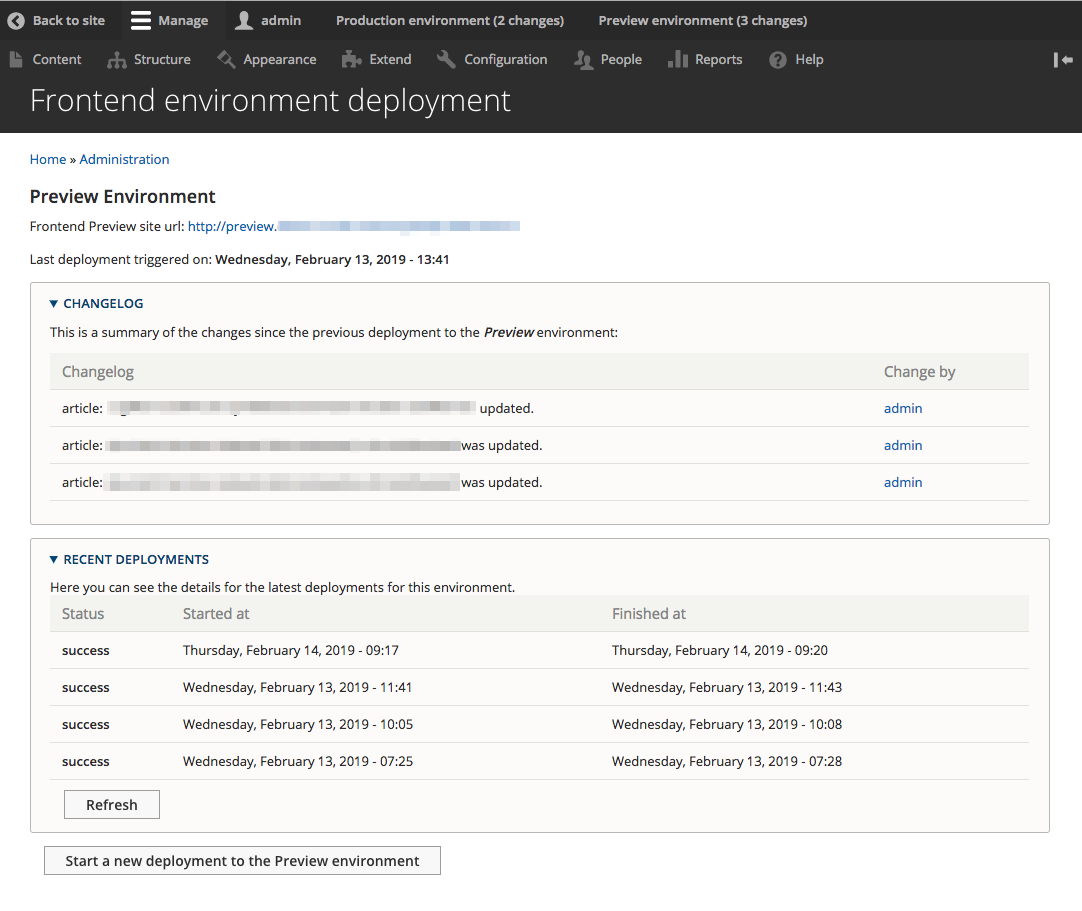
To avoid reinventing the wheel, we are going to use build-hooks module, this includes some functionality that we can take advantage of, like configuring Netlify environments to trigger deploys and catch content changes in nodes to add them to a changelog so we can identify them, this will help us a lot in the next steps, we just need to listen to Netlify's webhooks and create KV's in Cloudflare.
To get this working, we are going to create a Controller in our custom module, this will include the endpoint where Netlify's webhooks will notify us about the different status of our deploy.
This is how our .routing.yml file looks like:
1
2
3
4
5
6
7
headless_pages_publishing.webhook_controller_capture:
 path: '/headless_pages_publishing'
 defaults:
   _controller: '\Drupal\headless_pages_publishing\Controller\WebhookController::capture'
   _title: 'Webhook Controller'
 requirements:
   _custom_access: '\Drupal\headless_pages_publishing\Controller\WebhookController::authorize'
After triggering a deploy using the build-hooks module and Netlify notify us that the deployment succeded, we get the affected nodes.
1
2
3
4
5
6
7
8
9
10
   // First we get the environment that build-hooks uses.
   $environment_storage = \Drupal::entityTypeManager()->getStorage('frontend_environment');
   // Then we get the information for our specific deployment configuration (you can have multiple).
   $deployment_storage = \Drupal::entityTypeManager()->getStorage('build_hooks_deployment');
   // We load the environment objet so we can have access to the different enviroment operations.
   $environment = $environment_storage->load('headless_buildhooks');
   // Now we can load the last deployment information.
   $deployment = $deployment_storage->getLastDeploymentForEnvironment($environment);
   // And finally we can access the nodes that were affected.
   $referenced_entities = $deployment->get('contents')->referencedEntities();
Once we got the affected nodes, we create the KV values using Cloudflare API:
1
2
3
4
5
6
7
8
9
10
11
$response = \Drupal::httpClient()->put(
	$url,
	array(
    	"headers" => [
        	"Content-Type" => "application/json",
        	"Authorization" => "Bearer $token"
       ],
       "json" => $entities,
       "timeout" => 5,
	)
);
And that's it, we should see our new KV in Cloudlfare.
We are not considering unpublishing of nodes here but in this PoC we already got all the pieces to get that working.

About the author
AI vs. Automation: What’s the Difference and How to Choose the Right Layer
By David Cespedes, July 10, 2026What is the difference between AI and automation, and how do you decide which layer belongs where? Here’s our practitioner’s decision framework from enterprise pipeline implementations.
What Is Business Process Automation and How to Define What to Automate First
By David Cespedes, June 16, 2026Business process automation works when you define the right processes first. We discuss how to identify automation candidates and avoid the most common failure modes from our enterprise experience.
What are the alternatives for organizations after Drupal 7’s End of Life?
Watch our on-demand webinar and get all the answers.